10 Reasons Steam Mops Leave Streaks On Tiles And How To Get A Cleaner Finish
Steam mops can leave streaks due to dirty pads, hard water, excess steam or cleaner residue. Learn the common causes and simple fixes that help tiles dry cleaner, brighter and streak-free.

10 Reasons Steam Mops Leave Streaks On Tiles And How To Fix Them
A steam mop can feel like a small household miracle. Fill the tank, switch it on and watch hot vapour loosen the grime that ordinary mopping seems to chase from one corner to another. Then the floor dries and the disappointment arrives. Instead of gleaming tiles, there are pale lines, hazy patches or strange marks that only become more obvious when sunlight enters the room. Streaking does not necessarily mean the steam mop has failed. More often, something small has interfered with the cleaning process. It could be an overloaded mop pad, hard water, old detergent sitting on the tiles or simply too much steam lingering in one spot.

10 Reasons Steam Mops Leave Streaks On Tiles And How To Fix Them
Photo Credit: Pexels
Tile floors also behave differently depending on their finish. Glossy vitrified tiles reveal every mark, while textured kitchen or balcony tiles can trap dirt inside tiny grooves. Getting a cleaner finish therefore requires more than pushing a hot mop around.
The good news is that most causes are easy to fix. A few adjustments to preparation, water quality and mopping technique can make a surprisingly visible difference.
Why Does Your Steam Mop Leave Streaks On Tiles?
1. The Mop Pad Is Already Too Dirty
A steam mop pad can only hold so much grime before it starts returning some of that dirt to the floor. During the first few passes, the cloth picks up dust, cooking residue, fine hair and whatever else has settled on the tiles. Keep going with the same pad and the mop may begin smearing that mixture into thin streaks.
This problem appears quickly in busy areas such as kitchens, hallways and living rooms. A floor may look reasonably clean at first glance while still carrying a surprising amount of fine dust. Once moisture hits it, that dust turns into a muddy film.
Start with a freshly washed pad and check it halfway through larger rooms. If it has become grey or heavily soiled, replace it rather than trying to finish the whole floor.
Keeping two or three spare pads nearby makes the job much easier. It may feel slightly excessive until one dirty pad transforms a freshly cleaned floor into something resembling a rainy-day railway platform.
Wash reusable pads thoroughly after each session and avoid letting grease or detergent build up in the fibres.
2. Hard Water Leaves Mineral Marks Behind
Tap water can contain minerals such as calcium and magnesium. When steam evaporates, tiny mineral deposits may remain on the tiles. On glossy flooring, those deposits often appear as white streaks, cloudy patches or faint lines.
Homes that regularly notice white scaling around taps, kettles or shower fittings may face the same problem inside a steam mop. The effect becomes especially obvious on dark-coloured tiles, where every pale mark stands out.
Using distilled or demineralised water can reduce this type of residue considerably. Some steam mop manufacturers specifically recommend it, particularly in areas with hard water. Always check the appliance instructions before changing the type of water used.
The extra cost is usually modest compared with repeatedly cleaning the same floor because it refuses to shine. A small container of suitable water may cost a few hundred rupees depending on quantity and brand, but it can also help reduce mineral build-up inside the machine.
If distilled water improves the finish immediately, hard water was probably the hidden culprit rather than poor cleaning technique.
3. Old Floor Cleaner Is Still Sitting On The Tiles
Steam mops work best on floors that do not carry layers of old cleaning product. Unfortunately, regular mopping with generous amounts of detergent can create exactly that situation.
Many floor cleaners contain surfactants, fragrances and other ingredients designed to remain effective while wiping away dirt. When too much product gets used, a thin invisible film can stay behind. Steam then softens that residue and spreads it across the surface, creating streaks.
The problem often appears on floors that smell wonderfully fresh yet never quite look clean. Adding more cleaner only makes the cycle worse.
Give the tiles an occasional rinse with plain water before steam mopping, especially if strong cleaning liquids have been used regularly. Several rinses may be necessary when residue has accumulated over months.
Avoid pouring floor cleaner into a steam mop unless the manufacturer specifically allows it. Most machines are designed for water only, and added liquids may damage internal parts.
A spotless floor does not need to smell like an entire citrus orchard. Sometimes less product creates a much better finish.
4. The Floor Was Not Swept Or Vacuumed First
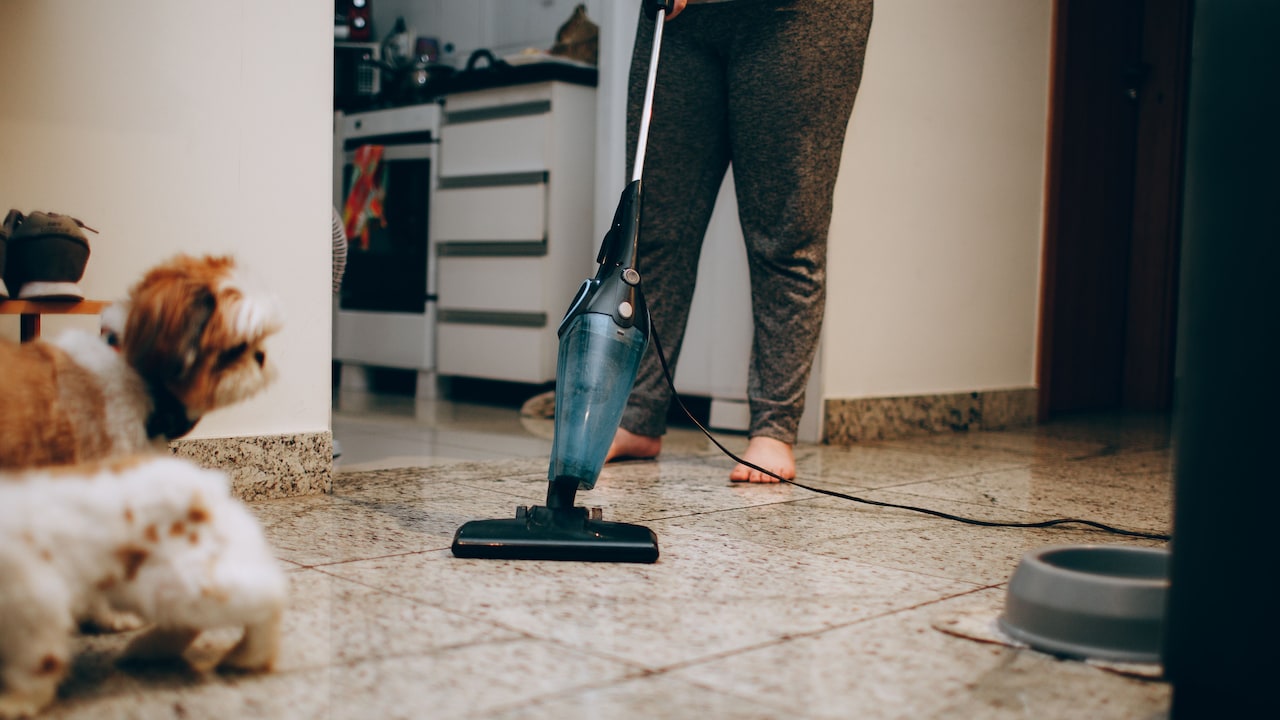
Steam loosens dirt, but it does not magically make loose debris disappear. Dust, hair, crumbs and fine grit should be removed before the steam mop touches the floor.
Skipping this step can create streaks almost immediately. Moisture mixes with dust, producing a thin dirty slurry that the mop pad then drags along. The result can look worse than the floor did before cleaning.
A quick sweep helps, although vacuuming usually works better on smooth tiles because it removes finer particles from grout lines and corners. Pay special attention to kitchen edges, underneath dining tables and areas near balconies or entrance doors.
Fine outdoor dust can travel remarkably far through an open window. In many homes, a floor cleaned in the morning can collect another visible layer by evening.
Pre-cleaning also protects glossy tiles from grit that could potentially scratch the surface when pushed around under the mop.
Think of sweeping or vacuuming as preparation rather than an optional extra. Steam should tackle stuck-on dirt and sanitise suitable surfaces, not chase yesterday's biscuit crumbs around the room.
10 Reasons Steam Mops Leave Streaks On Tiles And How To Fix Them
Photo Credit: Pexels
5. Too Much Steam Is Being Used
More steam does not always mean more cleaning power. Excess moisture can leave the floor wet for longer, giving dissolved dirt and minerals more time to settle into visible lines.
Some steam mops have adjustable steam settings. Using the highest level on every surface may be unnecessary, particularly on lightly soiled tiles. A lower setting can often clean effectively while helping the floor dry faster.
Slow movement creates a similar problem. Holding the mop over one patch for too long releases more moisture into that area. When those wetter sections dry at a different rate from the rest of the floor, streaks can become noticeable.
Keep the mop moving at a steady, comfortable pace. Allow the steam to loosen grime without soaking the surface.
Extra steam may still help with stubborn marks near the cooker or dining area, but use it selectively.
A useful clue is drying time. If the floor remains visibly wet several minutes after mopping, the machine may be releasing more moisture than necessary. The ideal finish should dry relatively quickly rather than resemble the aftermath of a monsoon cloud wandering through the living room.
6. The Mop Is Moving In Random Directions
Mopping technique matters more than it appears. Moving backwards, sideways and diagonally across the same section can redistribute dirt and leave overlapping marks behind.
A simple, consistent pattern usually produces a cleaner finish. Work from one side of the room towards the exit, using straight, slightly overlapping passes. This prevents walking over freshly cleaned tiles and helps each section receive roughly the same amount of steam.
On glossy tiles, follow the direction in which the floor naturally reflects light if possible. Uniform strokes make minor marks less noticeable and give the finished surface a more even appearance.
Avoid repeatedly scrubbing the same spot unless it contains stubborn dirt. If a mark refuses to lift, treat that section separately rather than turning the surrounding floor into a damp patchwork.
Planning the route before switching on the mop also saves awkward moments. Few household scenes feel quite as foolish as finishing a spotless room only to realise the door is on the opposite side.
Consistent movement keeps moisture, dirt collection and drying more uniform, all of which helps reduce streaking.
Also Read: How To Use A Steam Mop: Tricks To Cut Cleaning Time In Half
7. Grease Has Built Up On The Tiles
Kitchen tiles face a special challenge: airborne grease. Cooking oils can settle gradually across the floor, particularly near the hob, platform and dining area. The layer may be almost invisible until a steam mop begins moving across it.
Steam can soften grease, but a heavily oily floor may overwhelm the mop pad. Instead of removing the residue completely, the cloth spreads softened grease into shiny streaks.
Pre-treat greasy sections with a tile-safe degreasing method before steam mopping. Follow the flooring manufacturer's guidance and rinse away any cleaner thoroughly so another layer of residue does not replace the first one.
Change the mop pad more frequently in the kitchen as well. One cloth that has absorbed oily dirt near the stove should not continue into the living room.
Regular light cleaning prevents grease from forming a stubborn film. This becomes particularly helpful after festival cooking, family gatherings or enthusiastic rounds of pakoras and puris.
If streaks appear mainly around cooking areas while the rest of the house looks fine, grease is a strong suspect. Tackle the oily layer first and let the steam mop handle the finishing work.
8. The Mop Pad Contains Fabric Softener Residue
Reusable steam mop pads need washing, but the way they are washed can affect the next cleaning session.
Fabric softener coats fibres with conditioning ingredients that make clothes feel smoother. On mop pads, that coating can reduce absorbency and transfer residue onto tiles. The result may appear as greasy streaks or a dull film that refuses to disappear.
Wash mop pads according to the manufacturer's instructions and skip fabric softener unless the care label specifically permits it. Heavy fragrances and excessive detergent can also leave residue inside the cloth.
Rinse thoroughly and allow pads to dry completely before storing them. A properly cleaned microfibre pad should absorb moisture and trap dirt rather than slide across the surface like a polished handkerchief.
If streaking began shortly after the mop pads went through a different laundry routine, rewashing them without softener may solve the mystery.
Old pads eventually wear out too. Once the fibres become flattened, rough or permanently stained, replacement makes sense. Fresh pads often cost far less than a new steam mop and can dramatically improve cleaning performance.
9. The Floor Is Being Mopped While Still Heavily Soiled
Steam mops are excellent finishing tools, but they have limits. A floor covered with dried mud, sticky spills or thick dirt needs more preparation before steaming.
Trying to tackle everything in one pass quickly saturates the mop pad. Dirt gets loosened but not fully collected, leaving streaks as the mop travels across the room.
Remove dried deposits first. Wipe sticky patches, scrape away suitable hardened residue carefully and clean very dirty sections before using steam. Once the worst grime has gone, the steam mop can lift the remaining film and refresh the floor.
This matters particularly during rainy weather, when footwear can carry damp soil indoors. Entrance areas may require separate cleaning before the rest of the room.
The same rule applies after renovation work. Cement dust and construction debris should never become a steam mop's opening challenge.
Treat steam mopping as the final stage rather than the entire cleaning process when floors are heavily soiled. A little preparation prevents one dirty area from travelling across ten clean ones and saves the unpleasant discovery that the mop has merely rearranged the mess.
10. The Tile Finish Naturally Shows Every Mark
Sometimes the steam mop is performing reasonably well, but the flooring itself makes every tiny imperfection visible.
High-gloss vitrified tiles can reveal water spots, footprints, mop lines and mineral residue far more readily than matt surfaces. Dark tiles can be equally unforgiving, particularly when strong daylight falls across them.
For these floors, the final drying stage makes a big difference. Once steam mopping is complete, allow the tiles to dry without walking over them. If faint streaks remain, buff the surface gently with a clean, dry microfibre cloth.
Good ventilation can also help moisture evaporate evenly. Open windows where practical or use a fan to encourage quicker drying.
Avoid polishing wet tiles aggressively, as this may simply spread remaining residue. Wait until the surface is nearly or completely dry.
It also helps to manage expectations. A highly reflective floor behaves almost like glass. One tiny mark can look dramatic from the right angle.
With clean pads, suitable water and a careful finishing wipe, even fussy glossy tiles can look crisp, bright and far more satisfying.

10 Reasons Steam Mops Leave Streaks On Tiles And How To Fix Them
Photo Credit: Pexels
Products Related To This Article
1. Shark Steam And Scrub S8201IN Steam Mop
2. Nexlev 10-in-1 Foldable Steam Cleaner And Mop| 2 Steam Modes
3. Domestica Steamo 10-In-1 Steam Cleaner For Home Cleaning With 2 Steam Modes
4. Shark Steam And Scrub S8201IN Steam Mop
5. MinuteToCleanIt Flat Mop for Floor Cleaning with Built in Spray
6. AGARO Delite Spray Mop for Dry and Wet Floor Cleaning with Washable Microfiber Pad
7. BISSELL CrossWave HF2 | Wet And Dry Hard Floor Cleaner
Steam mop streaks often come from surprisingly ordinary causes. A dirty pad, loose dust, hard water or leftover floor cleaner can turn a supposedly effortless cleaning session into a frustrating game of chasing marks across the tiles.
The simplest solution is usually to improve the process rather than immediately blame the appliance. Vacuum or sweep first, begin with a clean pad, use the right amount of steam and move in consistent passes. Keep grease and old detergent residue under control, and consider distilled or demineralised water if mineral marks regularly appear.
Glossy floors may need one final touch with a dry microfibre cloth, particularly when sunlight exposes every faint line.
A steam mop works best when it handles the job it was designed to do: loosening remaining grime and giving an already prepared floor a thorough finish. Once that rhythm becomes routine, streak-free tiles stop feeling like a housekeeping mystery and start looking much more achievable.
(Disclaimer: This article may include references to or features of products and services made available through affiliate marketing campaigns. NDTV Convergence Limited (“NDTV”) strives to maintain editorial independence while participating in such campaigns. NDTV does not assume responsibility for the performance or claims of any featured products or services.)